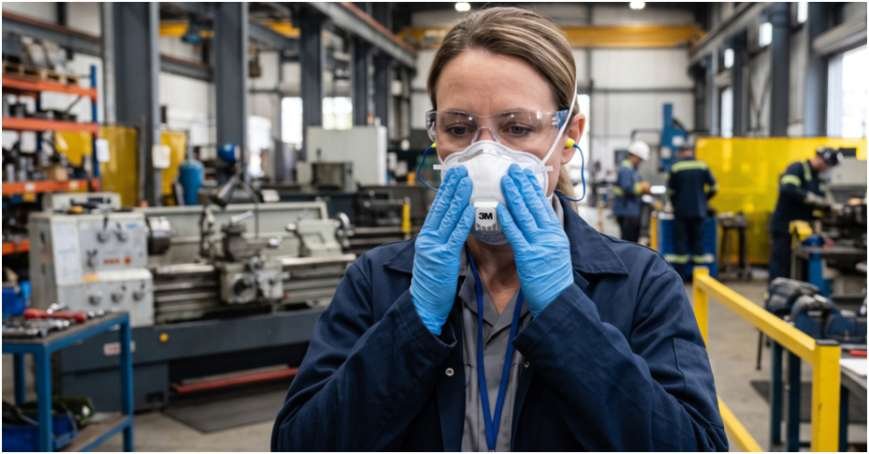
A respirator may look secure while leaking around the nose, cheeks, or chin. Knowing how to perform a respirator user seal check helps you detect those gaps before entering a hazardous area.
I treat the seal check as a go-or-no-go decision. It takes only seconds, yet it confirms whether the facepiece is seated correctly at that moment.
What a User Seal Check Actually Confirms
OSHA defines a user seal check as an action performed by the wearer to confirm that a respirator is properly seated. Anyone using a tight-fitting respirator must complete the check each time it is put on.
The procedure must follow OSHA pressure-check methods or an equally effective manufacturer method. The core purpose of how to perform a respirator user seal check is to detect leakage after donning or adjustment. It does not prove that a respirator model fits your face under every work condition.
Prepare the Respirator and Your Face
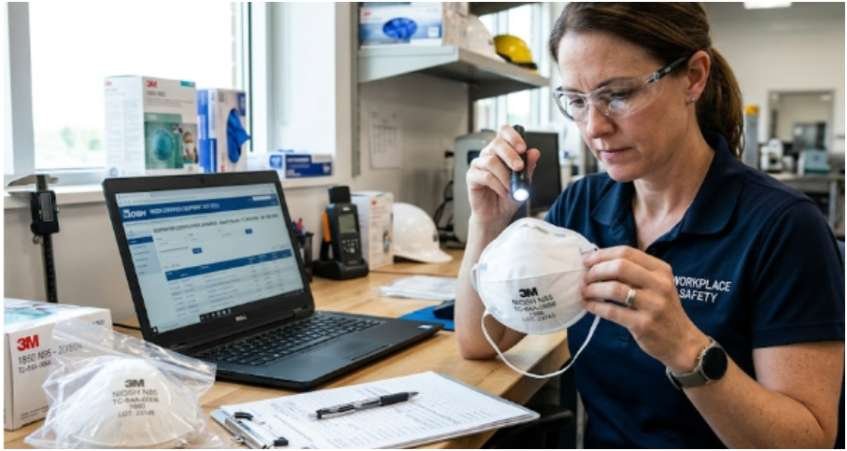
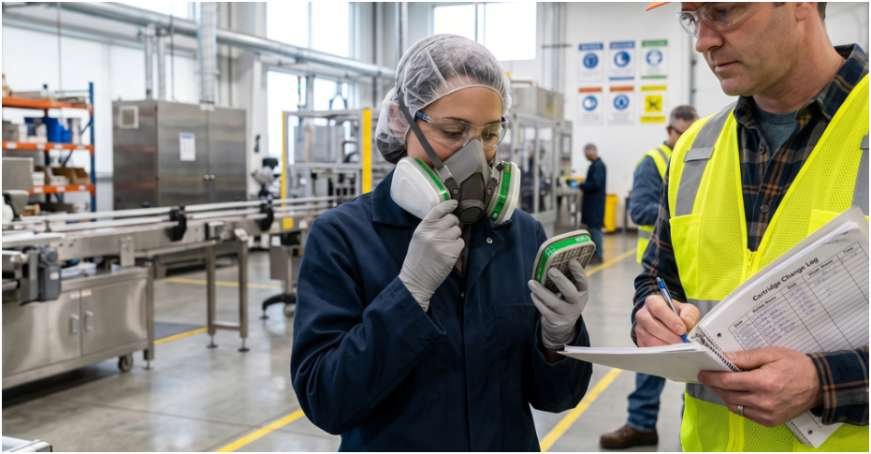
Before practising how to perform a respirator user seal check, inspect the equipment. Check the facepiece, straps, valves, filters, cartridges, and connection points. Do not use an N95 that is damaged, damp, dirty, or misshapen.
NIOSH also recommends handling it with clean, dry hands. Respirator on according to its specific instructions. On a two-strap N95, place the upper strap near the crown. Position the lower strap below the ears. Keep both straps flat and untwisted.
Mold the nosepiece with fingertips from both hands. Do not pinch it into a sharp V. Even pressure helps the metal strip follow the shape of your nose. e sealing area before starting.
Beard stubble, sideburns, jewelry, makeup, eyewear, and other protective equipment may create gaps. Tight-fitting workplace respirators require clean-shaven skin wherever the seal touches the face.
Positive-Pressure User Seal Check Steps
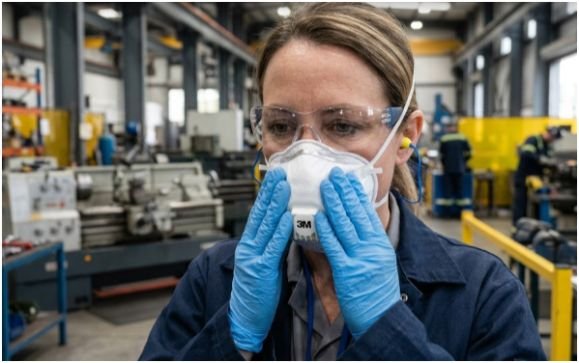
A positive-pressure check looks for air escaping while you breathe out. The exact method depends on the respirator design, so read the product instructions first.
Cover the respirator surface or block the exhalation valve as directed. Do not press hard enough to create an artificial seal. Exhale gently into the facepiece.
A slight outward bulge or small pressure buildup should occur. The check passes when you feel no outward airflow around the sealing edge. OSHA describes a satisfactory result as pressure building without evidence of leakage. The outward-leak test is a central part of how to perform a respirator user seal check on compatible models.
I always stress the word “gently.” A forceful breath may shift the facepiece or create a leak that was not present before the check.
Negative-Pressure User Seal Check Steps
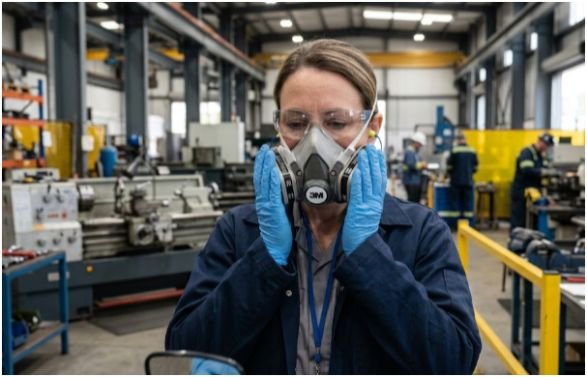
A negative-pressure check looks for air entering while you inhale. It is often used with reusable half-face or full-face respirators fitted with cartridges or filters.
Block the inlet openings using your palms, filter seals, or the method stated by the manufacturer. Inhale gently until the facepiece collapses slightly. Hold your breath for ten seconds.
The check passes when the facepiece remains slightly collapsed and no air enters around the seal. If it immediately returns to shape, inspect both the facial seal and the cartridge connections.
Some cartridge openings cannot be covered effectively by a palm. OSHA allows a thin nitrile or latex glove to cover such openings during the check. able facepieces, this makes how to perform a respirator user seal check easy to remember: block, inhale, hold, and feel for inward leakage.
What to Do When the Seal Check Fails
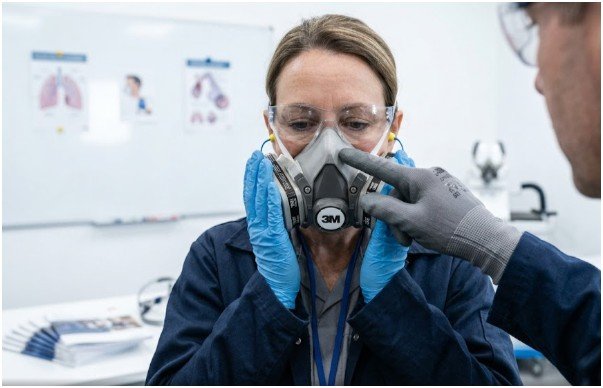
Troubleshooting is part of how to perform a respirator user seal check, not an optional extra. A small leak is still a failed check.
Do not enter the contaminated area until the respirator seals correctly. OSHA guidance states that a worker who cannot pass the check must use another suitable facepiece.
The Three-Zone Leak Scan
My practical method is a fixed scan of three zones: nose, cheeks, and chin. Pressure confirms that a leak exists, but this sequence helps locate it without random strap tightening.
Start by noticing airflow near the nose bridge and eyes. Then check both cheeks. Finish along the lower edge and chin. Repeat the approved pressure check after every adjustment.
Suppose air escapes near your right eye during a positive-pressure check. Remold the nosepiece with both hands and reseat the upper strap. Perform the check again.
When the leak moves toward the cheek, reposition the entire respirator. Do not keep crushing the nose clip. Excessive bending can damage the clip or create uneven pressure.
This three-zone routine adds a practical troubleshooting layer to how to perform a respirator user seal check without replacing the manufacturer’s procedure.
Fix the Most Common Leak Points
For a nose leak, smooth the nosepiece evenly along both sides of the bridge. Use fingertips from both hands rather than one-handed pinching.
For cheek or chin leakage, move the facepiece slightly higher or lower before changing the strap tension. The respirator may simply be sitting too low or too high.
When the fit feels loose, tighten the straps evenly. Avoid overtightening one side because it can pull the opposite edge away from your face.
Replace the respirator when straps are stretched, valves are damaged, the facepiece has lost its shape, or the seal cannot be maintained. Try another approved size, style, model, or make when repeated adjustments fail.
Seal Check Versus Fit Test
Understanding how to perform a respirator user seal check does not replace fit testing. The wearer performs a seal check each time the respirator is donned. A fit test is a formal procedure that verifies a specific make, model, style, and size for one person.
OSHA requires annual fit testing for tight-fitting workplace respirators. Retesting is also needed after changing the model or size, or after physical changes that may affect the fit.
Examples include major weight changes, dental work, facial surgery, or other alterations to the sealing area. the fit test as the foundation. The user seal check confirms that the approved respirator was put on correctly today.
Mistakes That Create False Confidence
A reliable approach to how to perform a respirator user seal check avoids four common errors.
The first is pressing the respirator so firmly that your hands create the seal. Use light contact and avoid changing the respirator’s position.
The second is adjusting the straps without repeating the entire check. Every repositioning can close one gap while opening another.
The third is treating fogged glasses as the only test. Fogging may suggest an upper-edge leak, but it does not replace the approved pressure procedure.
The fourth is assuming every respirator uses one universal method. When OSHA Appendix B procedures are followed, both positive- and negative-pressure checks should be performed when possible. A manufacturer may specify another equally effective method for a particular model. ently Asked Questions
How to perform a respirator user seal check on an N95?
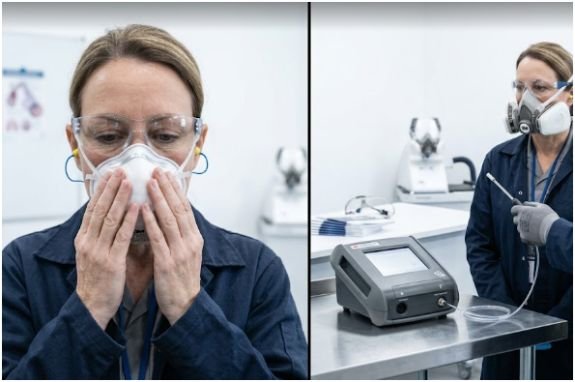
Cover the respirator as directed, breathe gently, feel for edge leakage, adjust the fit, and repeat the check every time you put it on. facial hair cause a failed respirator seal check?
Yes. Hair crossing the sealing surface can create gaps and prevent reliable contact between the respirator and skin. I perform both positive- and negative-pressure checks?
Use both when following OSHA Appendix B and both are possible, unless approved manufacturer instructions specify another equally effective method. if the respirator still leaks after adjustment?
Do not enter the hazard. Obtain another approved size, style, model, or facepiece through your workplace respiratory protection program.
Seal It Before You Risk It
Knowing how to perform a respirator user seal check turns a routine step into a clear safety decision. My rule is simple: no stable seal, no entry.
Inspect the equipment, follow the exact product instructions, breathe gently, and scan the nose, cheeks, and chin. If the leak remains, replace the facepiece or report the issue to your supervisor.
Never negotiate with a broken seal.
Frequently Asked Questions
1. How often should a respirator user seal check be performed?
Perform a user seal check every time you put on or reposition a tight-fitting respirator.
2. How long should a negative-pressure seal check be held?
Hold the inward suction for approximately 10 seconds while checking for air entering around the facepiece edges.
3. Can I perform a seal check while wearing glasses?
Yes, but glasses must not interfere with the respirator seal. Eyewear should rest outside the sealing surface.
4. Why does air leak around the nose of my N95?
Nose leakage often occurs when the nose clip is unevenly shaped or the respirator is positioned too low on the face.