Stepping onto a busy job site or tackling a dusty home renovation can expose your lungs to dangerous airborne particles. Knowing how to fit a respirator correctly is the single most important skill for ensuring that the air you breathe remains clean and toxic free.
Our team has spent years working alongside industrial health specialists, and one fact remains clear. Even the highest rated safety mask fails if air leaks around the edges. Learning proper fitting techniques gives you complete confidence every time you gear up.
Key Takeaways
- Get clear on the essential rules for a safe and reliable face seal.
- First, always inspect your equipment and wash your hands before handling any respiratory gear. Second, position the mask carefully over your nose and chin using both hands to secure a snug alignment.
- Third, pull head straps straight over your head without letting them twist or cross. Fourth, mold the metallic nose strip with both hands rather than pinching it with one hand.
- Finally, perform both positive and negative pressure checks every single time you gear up before entering hazardous areas.
Mastering Your Respirator Fit: A True Safety Superpower
Think of your safety gear as a high tech superhero shield for your lungs. If your mask has even a tiny gap, hazardous vapors and dust will sneak past the filters just like unwanted party crashers.
Learning how to fit a respirator properly turns a simple piece of equipment into an impenetrable barrier. You get all the protection you paid for while keeping your breathing easy, safe, and totally leak free throughout your entire shift.
Step-By-Step Instructions for Peak Mask Performance
Getting your respiratory gear fitted properly requires a structured routine that eliminates common fitting errors before you begin your work.
Inspect and Wash Before You Wear
Proper preparation starts with clean hands and a thorough inspection of your gear. Wash your hands thoroughly with soap and warm water to avoid transferring dirt or oils onto the interior fabric of your mask.
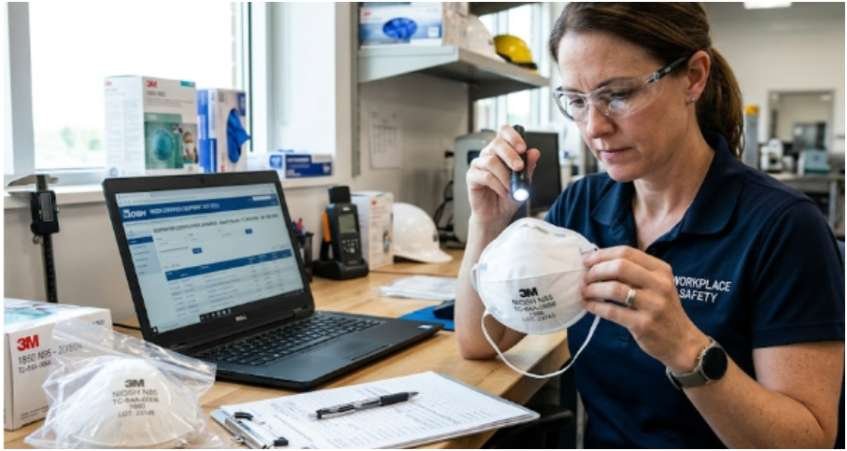
Carefully examine the entire facepiece for visible tears, physical cracks, or signs of dampness. Ensure all attached filter cartridges are fully secured, unexpired, and undamaged before putting the equipment on your face.
Respirator inspection should also be part of a broader review of the levels of personal protective equipment, since the correct mask, protective clothing, gloves, and eye protection must match the specific airborne, chemical, or biological hazards present.
Position the Mask With Precision
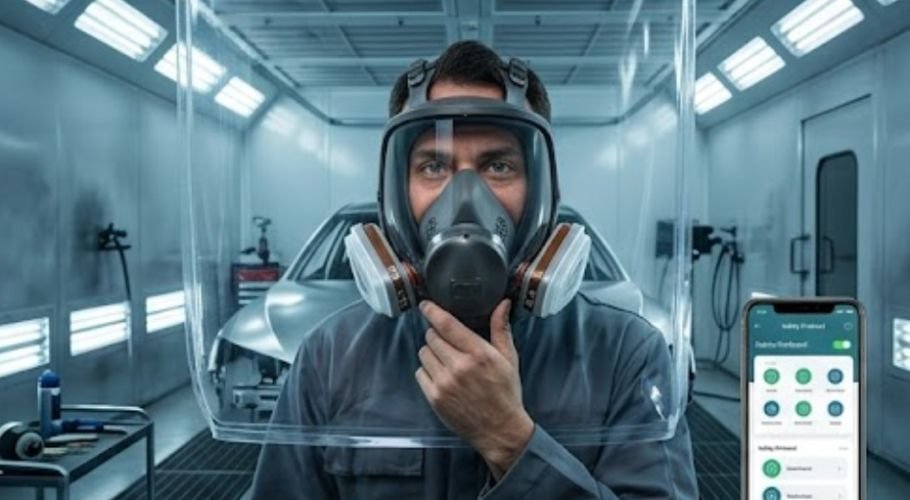
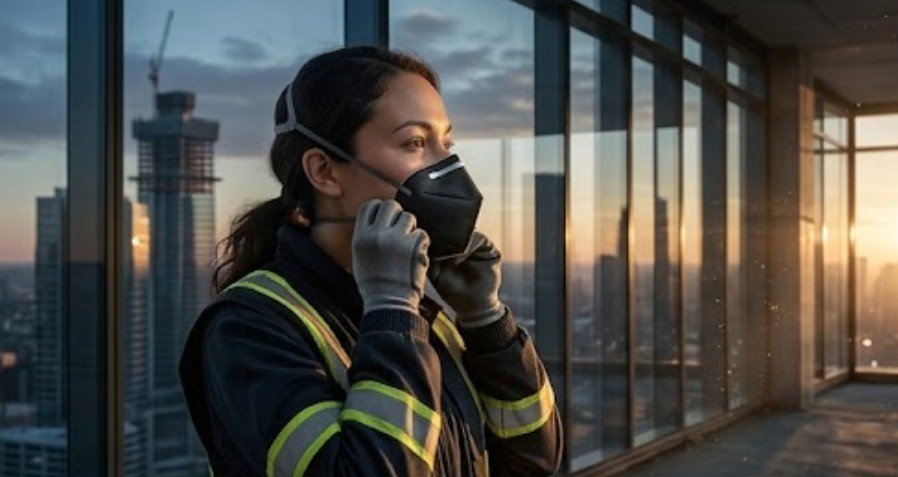
Hold the respirator firmly in your hand with your fingertips resting naturally along the metal nose piece. Allow the securing head straps to hang freely below your hand during this positioning step.
Bring the mask up to your face, resting your chin comfortably inside the bottom panel of the cup. Verify that the material covers both your nose and mouth completely without obstructing your line of sight.
Fit the Straps for Balanced Tension
Pull the top harness strap over your head and rest it securely high on the crown of your scalp. This top placement prevents the upper part of the mask from sliding downward during movement.
Take the bottom strap, pull it over your head, and position it around your neck just below your ears. Check that neither strap is twisted or crisscrossed, as flat straps distribute tension far more evenly.
Mold the Nose Piece for an Airtight Seal
Place the fingertips of both hands on either side of the metallic nose strip located at the top of the mask. Press inward firmly while sliding your fingers downward along the contours of your nose bridge.
Never pinch the metal strip with a single hand because this creates an unsealed peak right at the top. Always keep facial hair trimmed clean away from the contact area, as stubble easily breaks the airtight rubber seal.
Common Mistakes That Prevent a Proper Respirator Fit

Even a high-quality respirator cannot provide reliable protection if it is worn incorrectly. One of the most common mistakes is wearing facial hair along the sealing surface, as even short stubble can create small gaps that allow contaminated air to bypass the filter.
Choosing the wrong respirator size is another frequent issue, since a mask that is too large or too small will struggle to maintain a consistent seal. Twisted or loosely adjusted head straps can also reduce the effectiveness of the fit, especially during physical movement.
Many users skip the seal check because the mask feels comfortable, but comfort alone does not guarantee an airtight fit. Wearing a damaged respirator with stretched straps, cracked components, or a bent nose clip can further compromise protection.
Taking a few extra moments to inspect your equipment and adjust it correctly helps ensure your respirator performs as intended.
These fitting problems should be identified during routine reviews of how to conduct a workplace safety inspection, especially when checking respiratory equipment condition, employee practices, storage methods, and compliance with site-specific hazards.
How to Perform a Seal Check Every Single Time
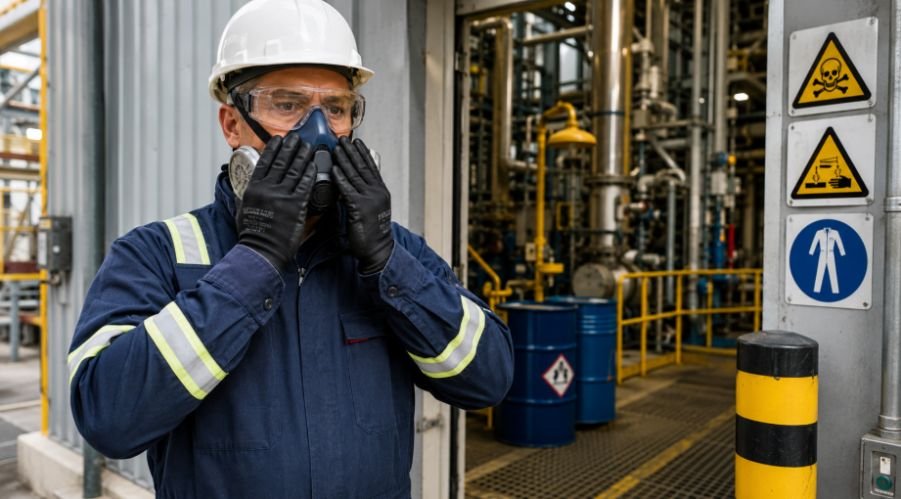
Testing your mask seal before stepping into a hazardous environment ensures that no invisible leaks compromise your breathing safety.
Positive Pressure Check
Cover the exhalation valve housing gently with the palm of your hand, taking care not to push the mask out of position. Exhale gently into the facepiece to build up slight internal air pressure.
The body of the mask should bulge outward slightly without any air escaping around the edges. If you feel air rushing across your eyes or cheeks, adjust the straps and repeat the test.
Negative Pressure Check
Place your palms flat over the filter cartridges or the outer surface of an N95 respirators mask to block incoming airflow. Inhale deeply and hold your breath for approximately ten seconds.
The mask facepiece should collapse inward slightly against your face and stay collapsed while you hold your breath. Air entering from the sides indicates a faulty seal that requires immediate strap adjustments.
Frequently Asked Questions
1. How to assemble a respirator?
Align the bayonet tabs of your filters with the facepiece notches. Twist clockwise until they lock into place, then check that all rubber gaskets sit flat.
2. How to don a tight fitting respirator?
Place the chin cup first, cover your nose, and pull straps over your head. Adjust the nose bridge and verify the seal with pressure checks.
3. Why would a respirator not fit properly?
Facial hair, incorrect sizing, worn elastic straps, or uneven nose clip molding ruin the facepiece seal. Facial scarring and rapid weight changes also alter face shapes.
4. How do you perform a respirator fit test?
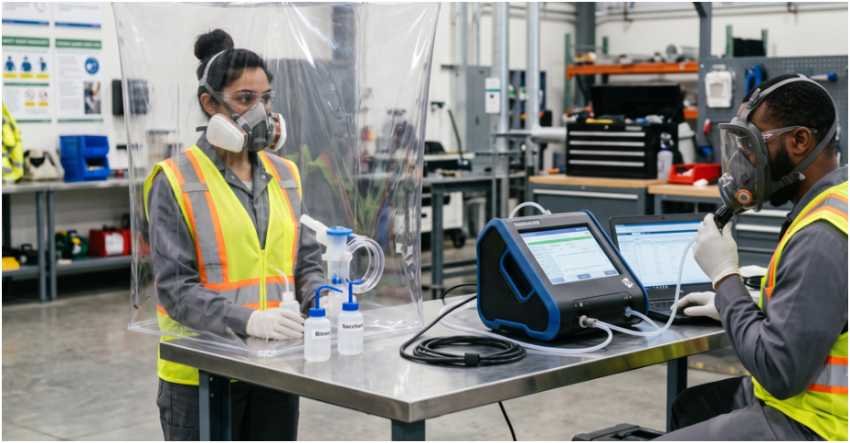
A trained administrator conducts a qualitative taste aerosol test or quantitative machine test while you perform physical movements to verify zero mask leakage under official guidelines.
Breathe Easy and Stay Safe Out There!
Mastering how to fit a respirator is a quick and simple habit that pays massive dividends for your long term respiratory health. Taking two extra minutes to inspect your mask, position straps correctly, and perform dual pressure seal checks ensures you remain fully protected against toxic site hazards. Keep your gear clean, store it safely, and wear it with complete confidence.